In today’s increasingly connected world, having a reliable and efficient home network is essential for everything from streaming entertainment to supporting smart home devices. A well-organized network panel, often referred to as a structured wiring panel, is the foundation of a strong home network. This central hub connects your internet service provider (ISP) equipment to your home’s wired and wireless devices, providing a clean, efficient way to manage your connections. Whether you’re setting up a new home or upgrading an existing one, creating your own DIY home network panel allows for greater control over your network infrastructure, improves network performance, and helps with future scalability.
Building a home network panel might seem like a daunting task at first, but with the right tools, materials, and guidance, it is an achievable project for most homeowners. A DIY approach not only allows for a custom setup tailored to your specific needs but also offers potential cost savings compared to professional installations. By following the step-by-step guide in this blog, you can create a professional‑grade network panel that meets your home’s specific networking needs. This not only improves network reliability and speeds but also makes troubleshooting and future upgrades much easier. Additionally, mastering this project provides valuable skills and knowledge, enabling you to manage your home network with greater expertise.
Step 1: Plan Your Home Network
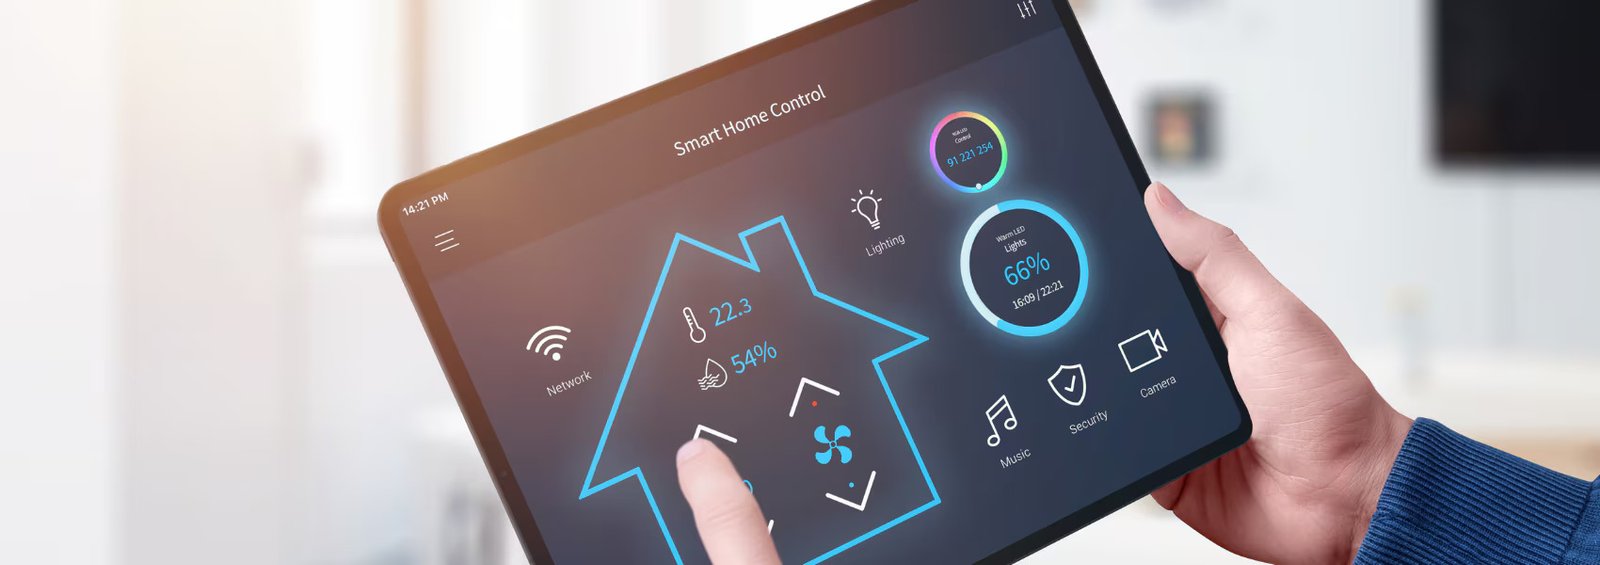
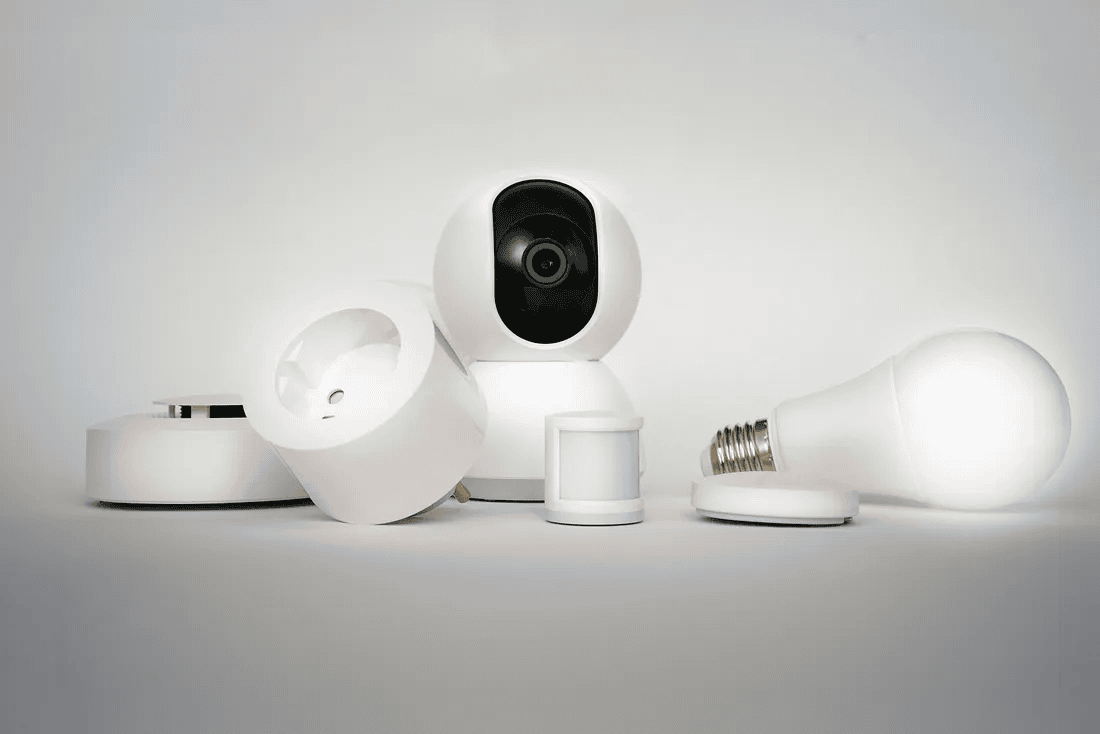
Before diving into the physical construction of your home network panel, it’s essential to plan your network design thoroughly. Start by identifying all the devices that will be connected to your network. This could include computers, gaming consoles, streaming devices, smart home equipment, security cameras, and other wired or wireless devices. Knowing what you need to connect will help you determine the type of equipment, such as routers, switches, and patch panels, that you’ll need to purchase for your setup.
Consider the bandwidth requirements of your household by analyzing current usage patterns and future needs. For example, households with multiple users engaging in high‑bandwidth activities like gaming or streaming high‑definition content will require a network with higher capacity. Additionally, think about the layout of your home and the locations where you need wired connections or strong Wi‑Fi coverage. Creating a detailed network diagram will guide the installation process and ensure that you don’t overlook any important elements. This careful planning is crucial for designing a network that will be efficient and scalable.
Step 2: Choose Your Network Equipment
With your network plan in place, it’s time to gather the necessary equipment for your home network panel. At a minimum, you’ll need the following components: a router (which connects to your ISP’s modem), an Ethernet switch (to distribute the connection to multiple devices), a patch panel (to organize the cables), and CAT6 or CAT7 Ethernet cables (to connect devices to the network). Depending on the complexity of your setup, you might also need additional components such as power over Ethernet (PoE) switches or wireless access points.
When selecting your equipment, prioritize high‑quality and future‑proof components. For instance, a router with advanced features such as gigabit Ethernet ports, dual‑band or tri‑band capabilities, and robust security protocols will provide better performance and adaptability. Additionally, choosing high‑grade cables like CAT6 or CAT7 ensures reliable and fast data transmission over long distances. Properly evaluating your equipment needs and investing in high‑quality products will improve your network’s overall performance and longevity. Furthermore, ensure that all equipment is compatible with each other to avoid integration issues during installation.
Step 3: Set Up Your Network Panel Location
Selecting the right location for your network panel is critical for both performance and accessibility. Ideally, the panel should be placed in a centralized, dry, and well‑ventilated area of your home. Common choices include basements, utility rooms, or dedicated network closets. The location should be conveniently close to your ISP’s modem and provide easy access to various areas of your home for running cables.
Ensure that the chosen location has access to power outlets to support all your network devices. If you’re setting up a wall‑mounted or rack‑mounted enclosure, make sure it is securely installed and that there is adequate space for future expansions. Proper ventilation is also important to prevent overheating of the equipment. Additionally, ensure that the location is easily accessible for routine maintenance or troubleshooting. A well‑chosen location enhances both the performance of your network and the ease with which you can manage and maintain it.
Step 4: Run and Terminate Ethernet Cables
Running Ethernet cables throughout your home is a crucial step for establishing a robust wired network. Begin by measuring the distances from your network panel to each room or area requiring a wired connection. Use high‑quality CAT6 or CAT7 Ethernet cables, as they support higher speeds and greater reliability compared to lower‑grade cables.
When running the cables, be mindful of potential obstacles and ensure that cables are not subjected to undue stress or sharp bends. If necessary, use cable conduits or raceways to protect the cables and maintain a clean appearance. Once the cables are in place, terminate them with RJ45 connectors, following proper crimping techniques to ensure secure and reliable connections. Properly labeling each cable is crucial for easy identification during troubleshooting or future upgrades. This meticulous approach ensures that your network is both reliable and organized, reducing the likelihood of connectivity issues.
Step 5: Install and Connect Network Devices
With the physical wiring complete, the next step is to install and connect your network devices. Begin by mounting the patch panel, Ethernet switch, and router inside the network panel enclosure. The patch panel helps keep your cables organized, while the Ethernet switch distributes the network connection to various parts of your home.
Connect the terminated Ethernet cables from Step 4 to the patch panel, and use short patch cords to link the panel to the switch. Connect the switch to your router, which in turn should be connected to your ISP’s modem. If you are using additional devices like wireless access points or network‑attached storage (NAS), connect them to the switch as well. Ensure that all devices are properly powered and functioning. Verifying that each component is correctly connected and operational will help ensure a smooth and reliable network setup.
Step 6: Test and Configure Your Network
Testing and configuring your network is the final step in creating a functional home network panel. Start by verifying the physical connections and ensuring that all devices are powered on and correctly connected. Use a network tester or connect a device directly to the Ethernet ports to check for connectivity and performance.
Configure your router by accessing its control panel through a web browser or mobile app. Set up essential features such as network security, including WPA3 encryption for Wi‑Fi, and configure IP address settings, including static IP addresses for critical devices if needed. Enable quality of service (QoS) settings to prioritize bandwidth for specific applications or devices. If you have wireless access points, ensure they are configured to provide optimal coverage and seamless connectivity throughout your home. Regularly monitor network performance and make adjustments as needed to maintain a high level of service.
Conclusion
Building a DIY home network panel is a valuable project that can significantly enhance your home’s connectivity and efficiency. By following the detailed steps outlined in this guideplanning your network, choosing the right equipment, setting up the panel location, running and terminating cables, and configuring devicesyou can create a high‑performing and organized network tailored to your home’s specific needs. This project not only provides immediate benefits, such as faster internet speeds and reduced network congestion but also sets the stage for future growth and technological advancements.
A well‑designed network panel facilitates easier maintenance and troubleshooting, ensuring that your home network remains reliable and efficient for years to come. Additionally, mastering this DIY project equips you with the skills and knowledge to manage your home network with greater expertise, empowering you to handle future upgrades and enhancements with confidence. Investing time and effort into creating a structured, efficient home network is a crucial step toward achieving a smarter, more connected living environment.