As energy costs continue to rise and environmental concerns become more pressing, many homeowners are turning to solar power as a sustainable and cost-effective solution. DIY solar power systems offer an opportunity for individuals to reduce their reliance on traditional energy sources while saving money on electricity bills. Installing a solar power system involves several steps, from planning and assessing your needs to the actual installation of solar panels and related equipment. This guide provides a comprehensive overview of how to successfully undertake a DIY solar power project for your home. By following these steps, you can harness the power of the sun to generate clean energy and contribute to a more sustainable future.
Solar energy is an increasingly popular choice for homeowners seeking to improve energy efficiency and reduce their carbon footprint. While professional installations are available, a DIY approach allows for greater flexibility and cost savings. Additionally, DIY solar systems give homeowners greater control over their energy sources and independence from fluctuating energy markets. This guide is designed to help you navigate the complexities of solar power installation, ensuring that you achieve the best results for your home’s energy needs.
Step 1: Assess Your Solar Power Needs
The first step in a DIY solar power project is to assess your home’s energy needs and determine the appropriate size of the solar power system. Begin by analyzing your current electricity usage by reviewing past utility bills. This will provide a clear picture of your average energy consumption and help you estimate the size of the solar system required to meet your needs.
Calculate the total wattage required by considering both peak and average energy consumption. Additionally, assess your home’s solar potential by examining factors such as roof orientation, shading, and the amount of sunlight your location receives. For example, south-facing roofs in the U.S. typically receive the most sunlight throughout the year, making them ideal for solar panels. Tools such as solar calculators and software can help you estimate the energy production of potential solar panel installations. By thoroughly assessing your energy needs and solar potential, you can design a system that maximizes efficiency and cost-effectiveness. This step also prevents over- or under-sizing your solar setup, which could lead to wasted energy or unmet power needs.
Step 2: Research and Select Solar Panels and Equipment
Once you have assessed your energy needs, the next step is to research and select the appropriate solar panels and equipment for your system. Solar panels come in various types, including monocrystalline, polycrystalline, and thin-film, each with its own advantages and efficiency levels. Monocrystalline panels are known for their high efficiency and compact design, making them ideal for limited space. Polycrystalline panels are cost-effective and offer good performance, while thin-film panels are lightweight and flexible but may require more space.
In addition to solar panels, you will need to select other components such as inverters, batteries, and mounting hardware. Inverters convert the direct current (DC) produced by the panels into alternating current (AC) used by your home. Batteries store excess energy for use when sunlight is not available, such as during nighttime or cloudy days. Batteries are especially beneficial in areas prone to power outages. Mounting hardware secures the panels to your roof or ground. Consider purchasing high-quality racking systems and components, as a sturdy installation is crucial for the longevity of your system. Research each component’s specifications and compatibility to ensure a well-integrated and efficient solar power system.
Step 3: Obtain Necessary Permits and Approvals
Before beginning the installation process, it is essential to obtain the necessary permits and approvals from local authorities. Building codes and regulations vary by location, so it is important to check with your city or county government to determine the specific requirements for solar power installations. Ignoring this step can result in fines or being required to remove the system.
Apply for any required permits, which may include electrical permits, building permits, and zoning approvals. Some areas also have specific regulations regarding the placement and size of solar panels, and whether roof modifications are necessary. It’s important to understand whether your area allows grid-tied systems or if off-grid systems are permitted without significant red tape. Additionally, contact your utility company to discuss grid connection and net metering options, which allow you to receive credit for excess energy generated by your system. In some cases, utilities may offer financial incentives for solar installations, so make sure to inquire about potential rebates or credits. Ensuring compliance with local regulations and obtaining the necessary approvals is crucial for a successful and legal solar power installation.
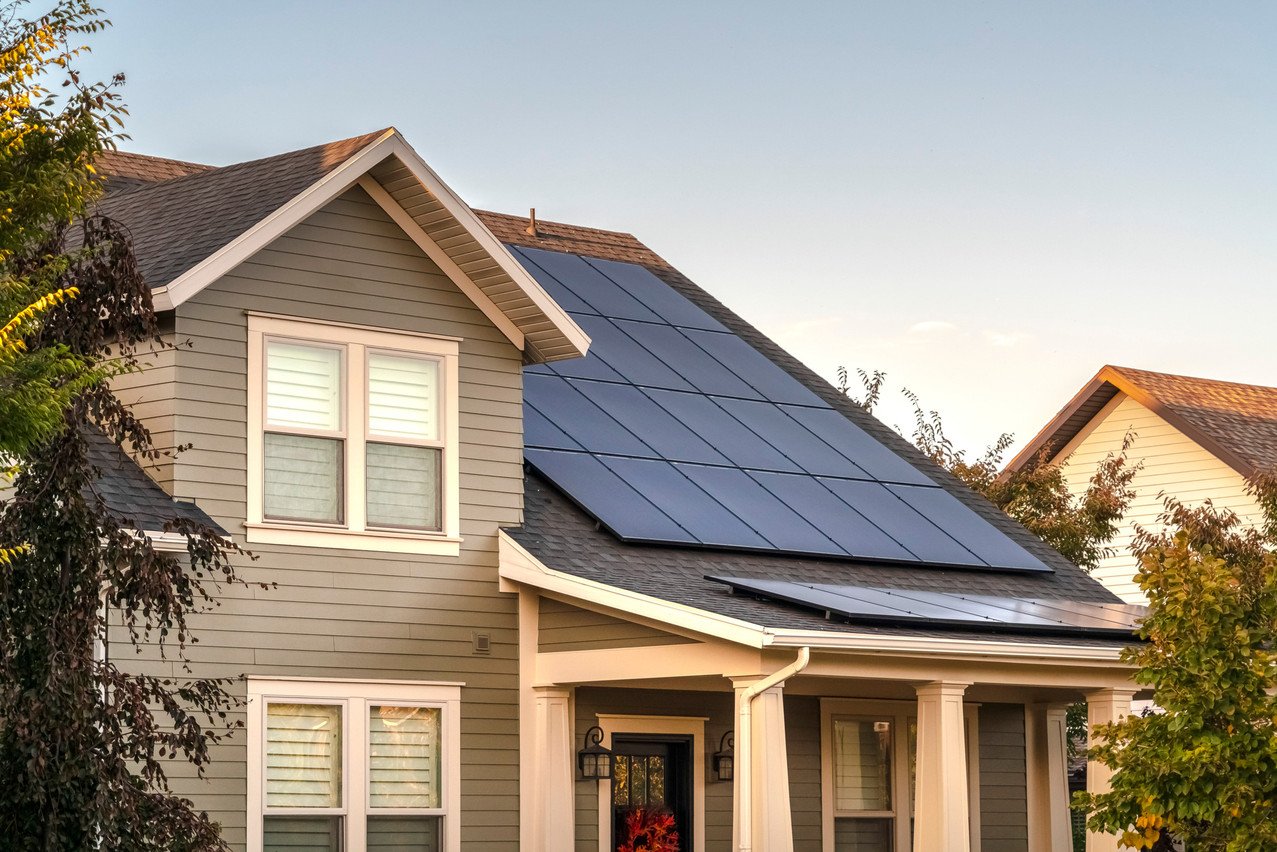
Step 4: Install the Solar Panels and Mounting System
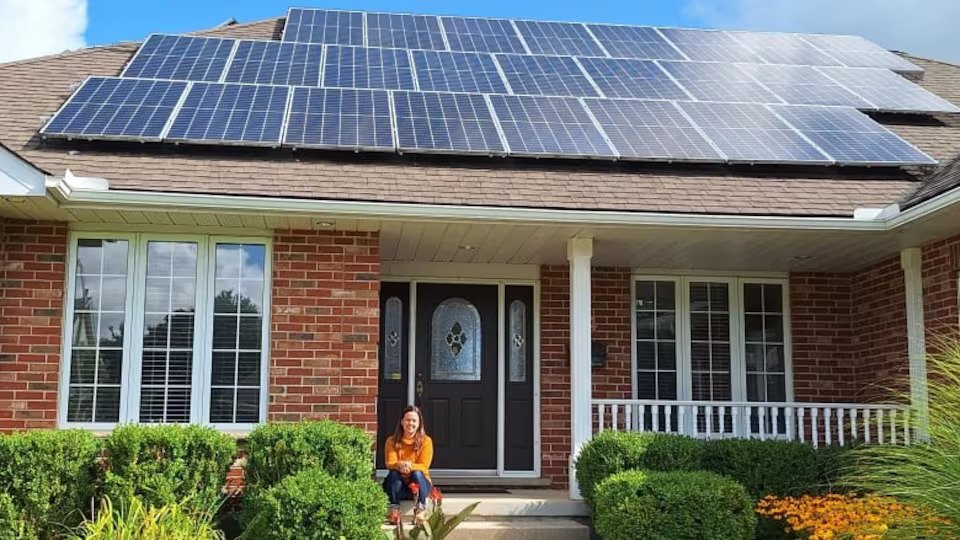
With permits in hand, you can proceed to install the solar panels and mounting system. Begin by installing the mounting hardware on your roof or chosen location. Ensure that the mounts are securely attached and properly aligned to support the weight of the solar panels. For roof installations, this may involve attaching rails or brackets to the roof structure. It is important to ensure that the angle and orientation of the panels maximize exposure to sunlight, as poor positioning could significantly reduce the system’s energy output.
Once the mounting system is in place, carefully position and secure the solar panels according to the manufacturer’s instructions. Connect the panels to the mounting hardware and ensure they are oriented for optimal sunlight exposure. If installing a ground‑mounted system, ensure that the panels are level and securely anchored, paying attention to nearby shading objects like trees or buildings that could block sunlight during certain times of the day. Proper installation is crucial for maximizing energy production and ensuring the longevity of your solar power system. Consider seeking professional guidance if your roof or installation conditions are particularly challenging.
Step 5: Connect the Electrical Components
After installing the solar panels, the next step is to connect the electrical components of your system. Begin by wiring the solar panels to the inverter, following the manufacturer’s guidelines for proper connections and safety precautions. The inverter will convert the DC electricity generated by the panels into AC electricity for use in your home. It’s vital to ensure that the wiring meets safety standards and electrical codes.
If your system includes batteries, connect them to the inverter and ensure they are properly charged and configured. Batteries play a crucial role in off‑grid systems or systems designed for backup power. Install any necessary disconnect switches and circuit breakers to protect the system and comply with electrical codes. These components will allow you to safely disconnect your solar system from the grid in case of maintenance or emergencies. Perform a thorough inspection of all electrical connections and components to ensure they are secure and functioning correctly. Proper electrical setup is essential for the safety and efficiency of your solar power system.
Step 6: Test the System and Monitor Performance
Once the installation is complete, it is important to test the system and monitor its performance to ensure it is operating correctly. Power on the system and verify that the inverter is functioning and producing electricity. Check that the solar panels are generating power and that all electrical connections are working properly.
Use monitoring tools or apps to track the performance of your solar power system and ensure that it is meeting your energy needs. Many inverters come with built-in monitoring systems, while external systems can provide more detailed data on energy production, consumption, and overall system health. Regularly inspect the system for any issues or maintenance needs, such as cleaning the panels to remove dirt, dust, or debris, which can affect their efficiency. Periodically checking for damage caused by weather or wear can prevent costly repairs in the future. Monitoring and maintaining your solar power system will help you maximize its efficiency and longevity, ensuring that you continue to benefit from clean, renewable energy for years to come.
Conclusion
A DIY solar power project offers numerous benefits, including cost savings, energy independence, and environmental sustainability. By following the detailed steps outlined in this guide, you can successfully design, install, and maintain a solar power system tailored to your home’s needs. This project not only enhances your energy efficiency but also provides long‑term financial benefits through reduced electricity bills. Additionally, investing in solar power is a proactive step toward reducing your carbon footprint and combating climate change.
Incorporating solar power into your home automation strategy complements other energy‑efficient technologies, such as smart thermostats and energy monitoring systems, creating a more integrated and eco‑friendly living environment. By investing time and effort into a DIY solar power project, you take a significant step towards reducing your reliance on traditional energy sources and embracing renewable energy solutions. With proper planning, research, and execution, your solar power system can provide long‑term benefits, both financially and environmentally, making it a worthwhile investment for your home and future generations.