In the realm of home photography, lighting plays a pivotal role in determining the quality of your images. Proper lighting can transform an ordinary photo into a professional-grade shot by enhancing details, colors, and depth. Many photographers invest in costly lighting setups to achieve this effect, but you can achieve similar results with a DIY approach. Creating your own home photography lighting not only saves money but also allows for customization to suit your specific needs and space.DIY home photography lighting is particularly advantageous for those who are keen to explore photography as a hobby or profession without incurring significant costs. Additionally, it empowers you to experiment with various lighting techniques and setups that can enhance your creative expression. Whether you are an amateur photographer looking to improve your home studio or a seasoned professional seeking a cost-effective lighting solution, a DIY approach can provide flexibility and creativity. This guide will walk you through a step-by-step process for setting up your own home photography lighting, ensuring you have the tools and techniques to capture stunning images in any setting.
Step 1: Assess Your Lighting Needs
The first step in creating a DIY home photography lighting setup is to assess your lighting needs. Consider the type of photography you will be doingwhether it’s portraits, product photography, or still life. Each type of photography has its own lighting requirements. For instance, portrait photography often benefits from soft, diffused light that reduces harsh shadows and highlights. Product photography, on the other hand, may require more focused and controlled lighting to highlight specific details and textures.Next, evaluate the space where you will be setting up your lighting. Measure the area to determine how much space you have and how much light you will need. Think about natural light sources in the room, such as windows, and how they might impact your setup. This assessment will help you decide on the types and quantities of lighting equipment you need and how to arrange it for optimal results. Understanding the characteristics of your shooting space, including ceiling height, wall color, and available power outlets, will also influence your lighting choices and setup.
Step 2: Choose Your Lighting Sources
Once you have assessed your lighting needs, choose the appropriate lighting sources for your DIY setup. Commonly used lighting sources include continuous lights, flash lights, and LED panels. Continuous lights, such as softbox lights or LED panels, provide a constant light source and allow you to see the effect of the light in real time. This type of lighting is ideal for various photography styles as it provides consistent illumination and makes it easier to adjust lighting settings during a shoot.Flash lights, on the other hand, provide a burst of light and can be used with modifiers to control their intensity and spread. Flash lights are particularly useful for freezing motion and achieving high-speed shots. For a basic setup, you might start with LED bulbs or fluorescent lights. These are cost-effective and provide consistent lighting. Additionally, you can use household lamps with adjustable arms to position the light as needed. The key is to choose lighting sources that are versatile and can be modified to achieve the desired effect in your photographs. Consider the wattage and color temperature of the bulbs to ensure they meet your specific needs.
Step 3: Build or Buy Light Modifiers
Light modifiers are essential for controlling and shaping light to achieve the desired effect. Common light modifiers include softboxes, reflectors, and diffusers. Softboxes diffuse light to create a softer, more even illumination, which is ideal for portrait photography. They help reduce harsh shadows and provide a flattering light for subjects. Reflectors bounce light back onto the subject to fill in shadows, while diffusers scatter light to reduce harshness and create a more natural look.You can either purchase light modifiers or create your own DIY versions. For instance, you can make a simple reflector using a piece of white poster board or aluminum foil attached to a cardboard frame. Reflectors are particularly useful for controlling the distribution of light and reducing shadows in your photos. Diffusers can be created using materials such as white bedsheets or shower curtains stretched over a frame. These materials help soften and diffuse light, creating a more even illumination. Building your own light modifiers allows for customization and can be a cost-effective way to achieve professional lighting effects. Additionally, you can experiment with different materials and techniques to create unique lighting effects.
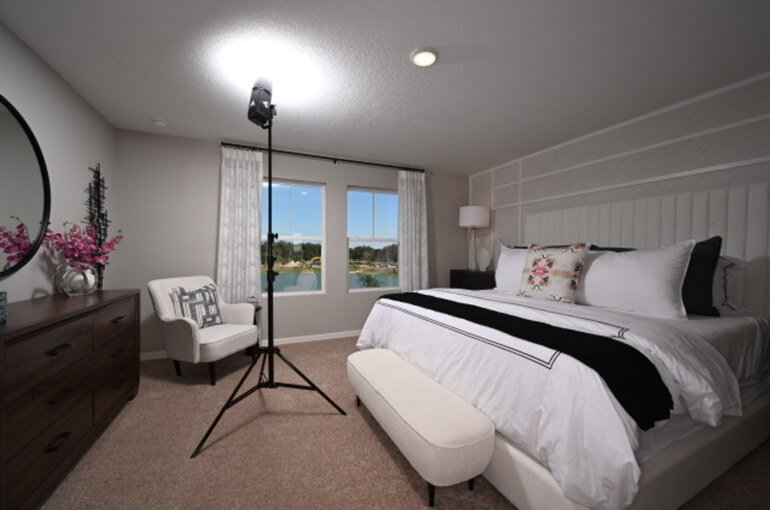
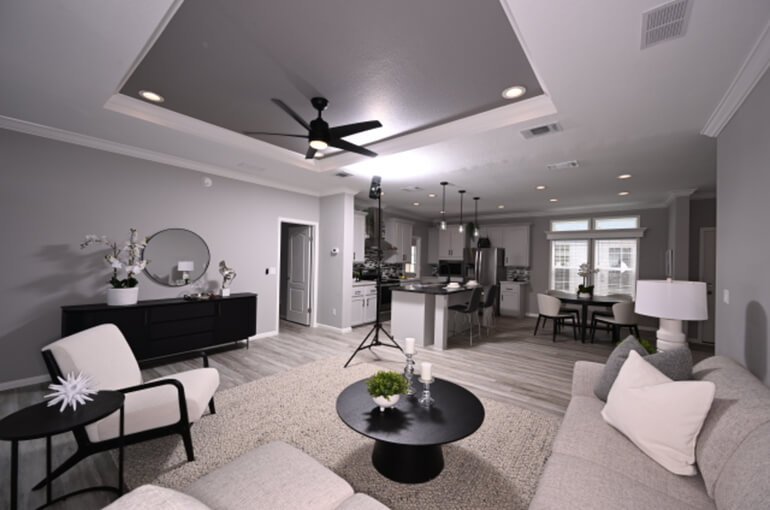
Step 4: Set Up Your Lighting Arrangement
With your lighting sources and modifiers ready, the next step is to set up your lighting arrangement. Begin by positioning your main light source, often referred to as the key light, at an angle to the subject. This light will provide the primary illumination and define the overall look of your photograph. Place the key light at a 45-degree angle to the subject for a balanced effect, or adjust the angle based on the desired mood or style. The key light should be the most intense light source and should provide the primary illumination for your subject.Next, set up your fill light to reduce shadows and provide additional illumination. Position the fill light on the opposite side of the key light, ensuring it is less intense to avoid overpowering the main light. The fill light helps to soften shadows created by the key light and ensures that details in the shadowed areas are visible. If using multiple lights, consider adding a backlight or hair light to create separation between the subject and background. This additional lighting can add depth and dimension to your photos. Experiment with different positions and angles to find the optimal setup for your specific photography needs.
Step 5: Adjust Light Intensity and Color Temperature
Once your lights are set up, adjust the intensity and color temperature to suit your shooting conditions. Light intensity can be controlled by adjusting the distance of the light source from the subject or by using dimmers if available. Ensure that the light is evenly distributed and does not create unwanted hotspots or shadows. Proper control of light intensity is crucial for achieving the correct exposure and maintaining a balanced look in your photographs.Color temperature is another critical factor in lighting. It determines the warmth or coolness of the light and affects the overall tone of your photos. Use daylight-balanced bulbs for a neutral, natural look, or adjust the color temperature using gels or filters if you want to create a specific mood. Color temperature adjustments help ensure that the colors in your images are accurate and consistent with the scene you are photographing. Consider using a gray card or color checker during your shoots to help achieve accurate color balance. Properly balancing light intensity and color temperature will help achieve consistent and accurate color reproduction in your images.
Step 6: Test and Fine-Tune Your Setup
With your lighting arrangement complete, conduct test shots to evaluate the results. Review the images to assess the effectiveness of your lighting setup, focusing on aspects such as shadow distribution, highlight detail, and overall exposure. Adjust the position and intensity of your lights as needed to achieve the desired look. Take note of any areas that need improvement and make necessary changes to enhance the quality of your photos.Fine-tuning your setup may involve making minor adjustments to light angles, adding or removing light modifiers, or altering the distance of the lights from the subject. Take the time to experiment with different configurations and settings to find the best setup for your photography style. Regular testing and adjustments will help you refine your DIY lighting system and ensure consistent, high-quality results in your home photography endeavors. Document your successful setups and make note of any changes for future reference. This iterative process will help you achieve the best possible lighting for your specific needs.
Conclusion
Creating a DIY home photography lighting setup offers an affordable and customizable solution for achieving professional-quality images. By assessing your lighting needs, choosing the right sources, and using effective light modifiers, you can craft a lighting system that enhances your photography and suits your specific requirements. This approach not only saves money but also allows for creativity and flexibility in your home studio.Investing time and effort into setting up and fine-tuning your lighting will yield significant improvements in your photo quality. Whether you’re capturing portraits, products, or still life, a well-designed lighting setup will elevate your work and help you achieve the results you desire. By embracing DIY solutions, you gain control over your photography environment and can produce stunning images that showcase your skills and creativity. The process of creating and refining your own lighting setup can also be a rewarding experience, leading to a deeper understanding of lighting techniques and their impact on photography.