Step 1: Plan and Design Your Climbing Wall
The initial phase of creating a DIY climbing wall involves careful planning and design. Begin by selecting an appropriate location in your home. Ideally, this space should be a sturdy wall with ample height and width. Common choices include garage walls, spare rooms, or basement areas. Ensure the wall you choose is free of obstacles and has enough clearance to accommodate your climbing activities. Once you have selected the location, sketch out your design. Consider the size and shape of the climbing wall, including features such as overhangs, angles, and the layout of climbing holds. Decide whether you want a simple vertical wall or a more complex configuration with varying angles and volumes. This design will guide your material selection and construction process. Careful planning at this stage is critical for creating a functional and safe climbing wall. A well-thought-out design will maximize your climbing experience and ensure that the wall integrates seamlessly into your space.Step 2: Gather Materials and Tools
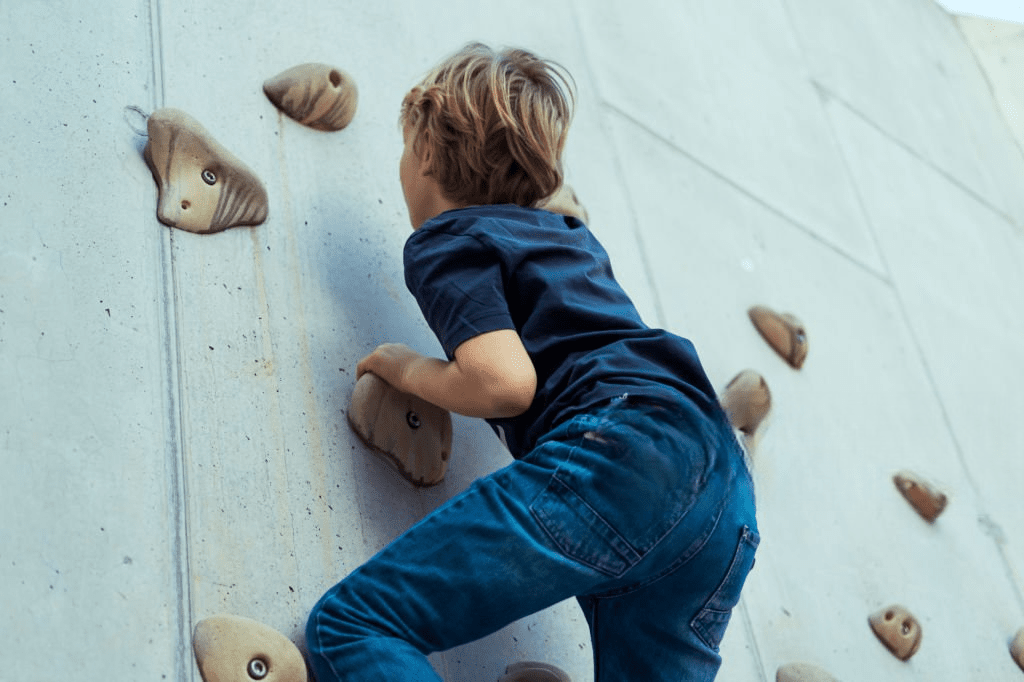
With your design in place, the next step is to gather all necessary materials and tools. Essential materials include plywood panels, climbing holds, screws, and mounting hardware. Plywood is commonly used for its strength and versatility. Opt for sheets of plywood with a thickness of at least 3/4 inch to ensure durability. You will also need climbing holds, which come in various shapes and sizes, including crimps, jugs, and pockets. Purchase holds from specialized climbing supply stores or online retailers. Additionally, gather screws, wall anchors, and a drill to secure the plywood to the wall. A saw, level, measuring tape, and a sander are also necessary for cutting and preparing the plywood panels. Selecting high-quality materials and having the right tools on hand will facilitate a smoother construction process. Ensuring that all components are suitable for climbing wall construction is crucial for both safety and performance.Step 3: Prepare the Wall and Plywood Panels
Preparation is a key step in constructing a climbing wall. Start by preparing the wall where the climbing wall will be mounted. Ensure that the wall is clean, dry, and free from any loose debris. If the wall is painted, consider applying a primer or sanding it lightly to improve adhesion. Next, cut the plywood panels to the desired size and shape based on your design. Use a saw to cut the panels, ensuring straight and accurate cuts. Sand the edges of the plywood to remove splinters and rough areas. If your design includes angles or overhangs, you may need to cut additional plywood pieces to create these features. Proper preparation of both the wall and the plywood panels ensures a stable and well-fitting climbing wall. Taking the time to accurately cut and sand the plywood will contribute to a cleaner and more professional-looking final product.