Maintaining a pleasant atmosphere in your home involves more than just keeping the space clean; it also includes ensuring that the air smells fresh and inviting. Many commercial air fresheners, while effective, often contain synthetic chemicals and artificial fragrances that can trigger allergies or respiratory issues. For a healthier, more natural alternative, consider creating your own DIY home air freshener. Not only can this approach save you money, but it also allows you to customize scents to your liking while avoiding harmful additives.DIY air fresheners offer numerous benefits, including the ability to choose natural ingredients and adjust fragrance strength to suit your preferences. Whether you prefer essential oils, herbs, or citrus fruits, making your own air freshener can enhance your home environment in a safe, eco-friendly manner. This guide will provide you with a step-by-step approach to creating effective and personalized air fresheners for your home, highlighting the benefits of natural ingredients and customization.
Step 1: Gather Necessary Supplies
To begin your DIY air freshener project, you first need to gather all necessary supplies. The basic ingredients include essential oils, a carrier liquid such as water or vodka, and a container to hold your air freshener. Essential oils are the primary source of fragrance and come in a variety of scents like lavender, lemon, and eucalyptus. The carrier liquid helps to disperse the essential oils into the air. Vodka is a popular choice because it evaporates quickly, leaving behind only the fragrance, but water can also be used if preferred.Additionally, you will need a spray bottle or diffuser to disperse the scent. For those using a spray bottle, opt for one with a fine mist setting to ensure an even distribution of fragrance throughout the room. If you prefer a more subtle, continuous scent, a diffuser can be an excellent choice. Also, consider adding a few natural additives such as dried herbs or citrus peels to enhance the fragrance further and add a decorative touch to your air freshener. Gathering these supplies beforehand ensures that you are well-prepared and can streamline the creation process.
Step 2: Choose Your Essential Oils
Selecting the right essential oils is crucial for creating an effective and pleasant air freshener. Essential oils come with various properties and scents, each offering different benefits. For instance, lavender is known for its calming effects, while citrus oils like lemon and orange are uplifting and refreshing. Eucalyptus and peppermint offer a clean, invigorating aroma that can also help clear nasal congestion.When choosing essential oils, consider the mood or effect you want to create in your space. You might choose relaxing scents for bedrooms, such as chamomile or sandalwood, while opting for more invigorating aromas like peppermint or rosemary for workspaces. Blending different essential oils can also create a unique fragrance profile tailored to your personal preference. For example, combining lavender and chamomile can create a soothing, restful atmosphere, while mixing citrus and mint can provide a refreshing, energizing scent. Use a combination of oils that complement each other to create a harmonious and pleasant atmosphere in your home.
Step 3: Prepare the Solution
Once you have selected your essential oils, it’s time to prepare your air freshener solution. Start by mixing the essential oils with your carrier liquid. For a spray bottle, a typical ratio is about 10-15 drops of essential oil per 1 ounce of carrier liquid. If using vodka, the higher alcohol content ensures that the scent disperses more effectively. For water-based solutions, you might need to shake the bottle before each use to mix the oils evenly.Add the essential oils to the spray bottle first, then fill the rest with your chosen carrier liquid. If you’re using a diffuser, follow the manufacturer’s instructions for adding essential oils and carrier liquids. Mix well to ensure the oils are properly integrated with the carrier. For added efficacy, you might also include a small amount of baking soda to help neutralize odors, though this is optional depending on your desired scent strength. Incorporating baking soda can be especially useful if you’re dealing with persistent odors in your home, providing a more effective freshening solution.
Step 4: Test and Adjust the Fragrance
After preparing the solution, test the air freshener to ensure it meets your fragrance expectations. Spray a small amount into the air and assess the scent. If the fragrance is too strong, dilute the solution with additional carrier liquid. Conversely, if the scent is too weak, add a few more drops of essential oil to enhance the aroma. This step is crucial for achieving the perfect balance that suits your preferences and ensures that the fragrance is neither overwhelming nor too faint.It’s also helpful to test the air freshener in different areas of your home to see how the scent disperses and interacts with various environments. Adjust the concentration of essential oils or the size of the spray bottle as needed based on the size of the room and the intensity of the fragrance. For larger spaces, you might need a stronger solution or additional air fresheners to achieve even coverage. This iterative process allows you to fine-tune your air freshener to achieve optimal results and ensures that your home smells consistently fresh and inviting.
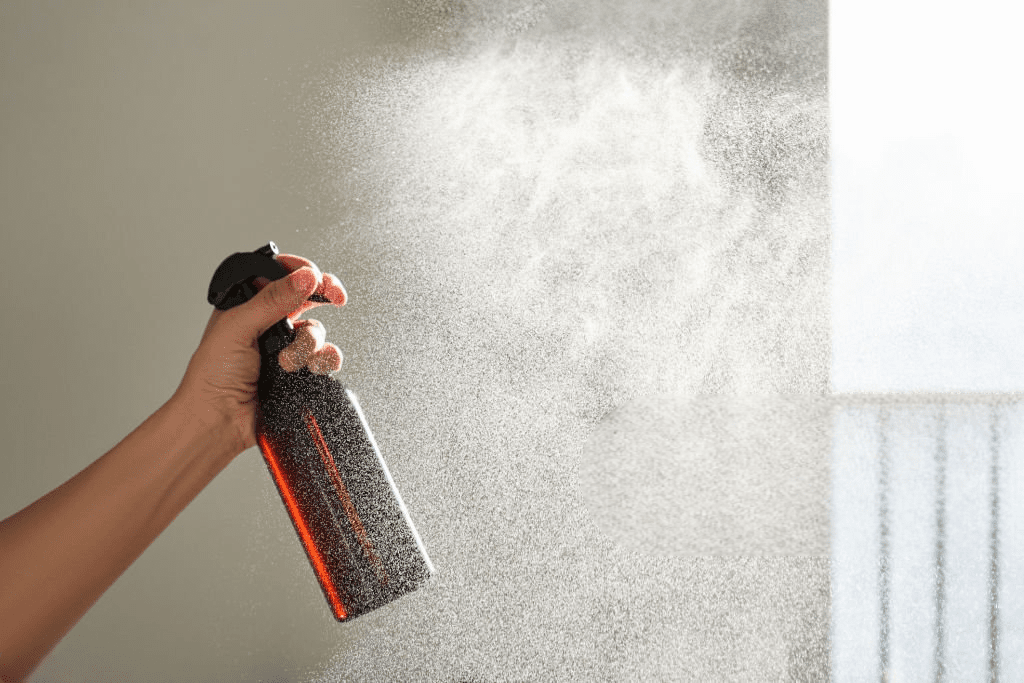
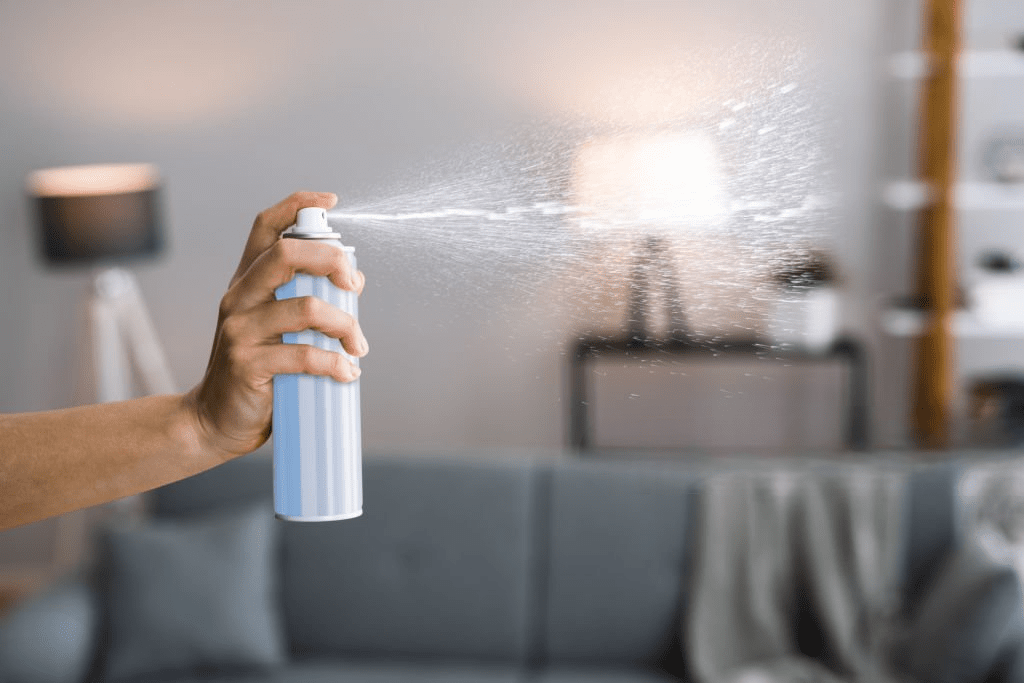
Step 5: Apply and Use Your Air Freshener
With your DIY air freshener prepared and adjusted to your liking, it’s time to put it to use. If you’re using a spray bottle, lightly mist the air in various rooms to distribute the fragrance evenly. Avoid over-spraying, as too much can lead to an overpowering scent. For diffusers, follow the manufacturer’s instructions for operating the device and ensure that it’s placed in a central location where the scent can circulate effectively.In addition to using your air freshener regularly, consider placing small bowls of the air freshener solution in discreet locations throughout your home. This can provide a more subtle and continuous fragrance. Be mindful of the placement to avoid direct contact with surfaces or fabrics that could potentially become stained. You might also experiment with different types of diffusers or air freshener methods to find the most effective and enjoyable way to distribute fragrance in your home. Refill or refresh your air freshener as needed to maintain a pleasant atmosphere.
Step 6: Maintain and Refresh Your Air Freshener
To ensure the longevity and effectiveness of your DIY air freshener, regular maintenance is essential. If you notice that the scent has diminished over time, refresh the solution by adding a few more drops of essential oil. For spray bottles, make sure to clean the nozzle regularly to prevent clogging and ensure even distribution. If using a diffuser, follow the manufacturer’s cleaning instructions to maintain optimal performance.Additionally, store your air freshener solution in a cool, dark place when not in use to preserve the integrity of the essential oils. Exposure to sunlight and heat can degrade the quality of the oils and diminish their effectiveness. Regularly inspect your air freshener components, such as the spray bottle or diffuser, to ensure they are functioning properly. By following these maintenance tips, you can enjoy a consistently pleasant fragrance in your home without the need for frequent replacements. Keeping your DIY air freshener well-maintained helps ensure that it continues to enhance your home environment effectively.
Conclusion
Creating a DIY home air freshener offers a simple, cost-effective way to enhance the ambiance of your living space while avoiding the synthetic chemicals often found in commercial products. By selecting natural ingredients and adjusting the fragrance to suit your preferences, you can achieve a fresh, inviting atmosphere in your home. This approach not only contributes to a healthier environment but also allows for a personalized touch in your home décor.Embracing DIY solutions like homemade air fresheners empowers homeowners to take control of their living environments. With a few basic supplies and a bit of creativity, you can craft a natural, effective air freshener that enhances the comfort and appeal of your home. This simple project not only improves your indoor air quality but also provides a rewarding, customized experience that reflects your personal style and preferences. By taking the time to create your own air freshener, you’re investing in both a more pleasant living space and a healthier home environment.