- Basic and advanced code examples.
- Wiring and driver details.
- Practical projects that work right away.
What Makes Stepper Motors Essential for Precision Projects
Stepper motors can move in precise steps. They give you precise control without extra sensors. Arduino boards keep the cost low and code easy. This combo is used in many projects like 3D printers, CNC machines, and robots. Small changes in the code can fix jerky motion and create smooth movement.Types of Stepper Motors You Can Control
There are two main types: bipolar and unipolar. Bipolar motors use four wires and can pack a punch. Unipolar motors have more wires and are easier to drive. Common models like NEMA17 appear in many projects. Driver choices include A4988, DRV8825, and TMC2208. Today, we will cover both direct code and library-based approaches.What You’ll Gain From This Guide
- Ready-to-run code snippets.
- Clear wiring and component details.
- Tips on fixing common motor issues.
- Steps for smooth acceleration and multi-motor projects.
Stepper Motor Fundamentals for Better Code
How Stepper Motors Work: The Physics Behind Your Code
A stepper motor moves in steps. Each step is a small angle turn. Current pulses make its coils act in sequence. This sequence produces a smooth rotation when timed right. By changing the pulse timing, you change the speed and precision.Stepper Motor Types and Their Control Differences
Unipolar motors need five or more wires. Bipolar motors use four wires. This difference affects how you write code. Torque and speed depend on the motor type and your pulse timing. Check your motor specs before you code.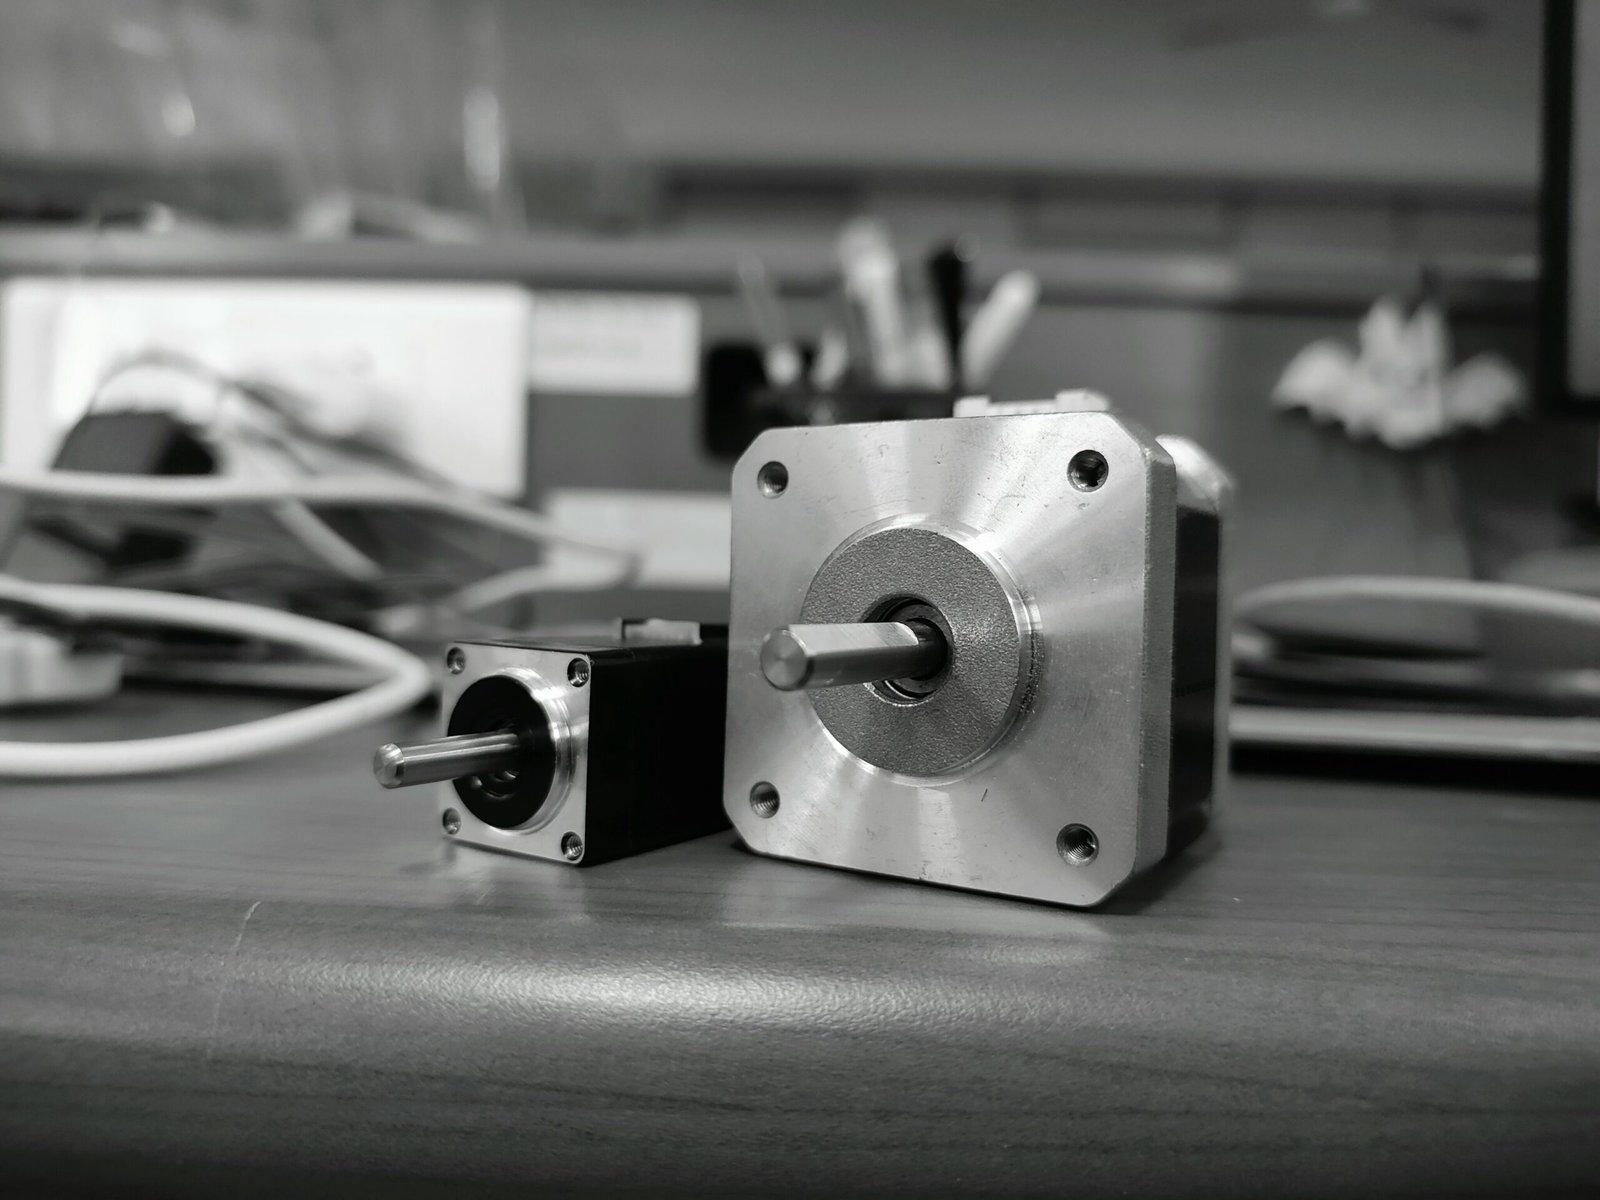
Essential Components for Arduino Stepper Control
You need:- An Arduino board.
- A stepper motor (like NEMA17).
- A driver board (A4988, DRV8825, or TMC2208).
- A proper power supply.
- Wires and breadboards to make connections.
Basic Arduino Code for Stepper Motor Control
Direct Control Without Libraries: The Fundamental Approach
Set your step and direction pins and send pulses to the motor. Try this simple code:
// Basic stepper control without libraries
define STEP_PIN 8
define DIR_PIN 9
void setup() {
pinMode(STEP_PIN, OUTPUT);
pinMode(DIR_PIN, OUTPUT);
}

void loop() {
// Set direction clockwise
digitalWrite(DIR_PIN, HIGH);

// Move 200 steps (one revolution for a 1.8° stepper)
for (int i = 0; i < 200; i++) {
digitalWrite(STEP_PIN, HIGH);
delayMicroseconds(500);
digitalWrite(STEP_PIN, LOW);
delayMicroseconds(500);
}

delay(1000); // Pause

// Change direction to counterclockwise
digitalWrite(DIR_PIN, LOW);

// Move 200 steps in the opposite direction
for (int i = 0; i < 200; i++) {
digitalWrite(STEP_PIN, HIGH);
delayMicroseconds(500);
digitalWrite(STEP_PIN, LOW);
delayMicroseconds(500);
}

delay(1000); // Pause
}
Speed Control Methods Using Potentiometers
Read an analog value to change your pulse delay. This lets you vary the speed:
// Speed control using a potentiometer
define STEP_PIN 8
define DIR_PIN 9
define POT_PIN A0
int stepDelay;

void setup() {
pinMode(STEP_PIN, OUTPUT);
pinMode(DIR_PIN, OUTPUT);
}

void loop() {
int potValue = analogRead(POT_PIN);
stepDelay = map(potValue, 0, 1023, 100, 2000);

digitalWrite(STEP_PIN, HIGH);
delayMicroseconds(stepDelay);
digitalWrite(STEP_PIN, LOW);
delayMicroseconds(stepDelay);
}
Controlling Direction and Position
Track the steps by using variables. Code can set a target step count and update the current position. It works well with buttons for real control.Advanced Arduino Stepper Control Using Libraries
The Stepper Library: Arduino’s Built-In Option
The built-in library makes basic control simple. This example uses the Stepper library:
include
const int stepsPerRevolution = 200;

// Connect to pins 8, 9, 10, 11
Stepper myStepper(stepsPerRevolution, 8, 9, 10, 11);

void setup() {
myStepper.setSpeed(60); // Set speed in RPM
Serial.begin(9600);
}

void loop() {
Serial.println("Clockwise");
myStepper.step(stepsPerRevolution);
delay(500);

Serial.println("Counterclockwise");
myStepper.step(-stepsPerRevolution);
delay(500);
}
AccelStepper Library: More Control with Acceleration
When you want smoother starts and stops, use the AccelStepper library. This code sets acceleration and deceleration:
include
// Motor with driver type 1 uses two pins: STEP and DIR
AccelStepper stepper(1, 8, 9);

void setup() {
stepper.setMaxSpeed(1000);
stepper.setAcceleration(500);
stepper.setSpeed(400);
stepper.moveTo(2000);
}

void loop() {
if (stepper.distanceToGo() == 0) {
stepper.moveTo(-stepper.currentPosition());
}
stepper.run();
}
MultiStepper: Coordinating Multiple Motors
Control several motors at once with the MultiStepper class:
include
include
AccelStepper stepper1(1, 2, 5);
AccelStepper stepper2(1, 3, 6);
AccelStepper stepper3(1, 4, 7);

MultiStepper steppersControl;

long targetPositions[3];

void setup() {
stepper1.setMaxSpeed(1000);
stepper2.setMaxSpeed(1000);
stepper3.setMaxSpeed(1000);

steppersControl.addStepper(stepper1);
steppersControl.addStepper(stepper2);
steppersControl.addStepper(stepper3);
}

void loop() {
targetPositions[0] = 800; // one rotation
targetPositions[1] = 1600; // two rotations
targetPositions[2] = 3200; // three rotations

steppersControl.moveTo(targetPositions);
steppersControl.runSpeedToPosition();

delay(1000);

targetPositions[0] = 0;
targetPositions[1] = 0;
targetPositions[2] = 0;

steppersControl.moveTo(targetPositions);
steppersControl.runSpeedToPosition();

delay(1000);
}
Driver-Specific Code for Different Stepper Drivers
A4988 Driver Implementation
This code snippet works with the A4988 driver:
define STEP_PIN 8
define DIR_PIN 9
define MS1_PIN 10
define MS2_PIN 11
define MS3_PIN 12
define ENABLE_PIN 13
void setup() {
pinMode(STEP_PIN, OUTPUT);
pinMode(DIR_PIN, OUTPUT);
pinMode(MS1_PIN, OUTPUT);
pinMode(MS2_PIN, OUTPUT);
pinMode(MS3_PIN, OUTPUT);
pinMode(ENABLE_PIN, OUTPUT);

// Set microstepping mode to quarter step
digitalWrite(MS1_PIN, HIGH);
digitalWrite(MS2_PIN, HIGH);
digitalWrite(MS3_PIN, LOW);

// Enable the driver
digitalWrite(ENABLE_PIN, LOW);
}

void loop() {
digitalWrite(DIR_PIN, HIGH);

// Execute 800 microsteps (200 full steps * 4)
for (int i = 0; i < 800; i++) {
digitalWrite(STEP_PIN, HIGH);
delayMicroseconds(500);
digitalWrite(STEP_PIN, LOW);
delayMicroseconds(500);
}

delay(1000);

digitalWrite(DIR_PIN, LOW);

for (int i = 0; i < 800; i++) {
digitalWrite(STEP_PIN, HIGH);
delayMicroseconds(500);
digitalWrite(STEP_PIN, LOW);
delayMicroseconds(500);
}

delay(1000);
}
DRV8825 Driver: Higher Current and Resolution
The DRV8825 driver works much like the A4988 but supports more microsteps. Use similar wiring and code. Adjust timing as needed and read the datasheet for current settings.TMC2208 Silent Stepper Driver Implementation
The TMC2208 offers whisper-quiet motion. Its advanced mode uses a UART for extra tuning options. Review its documentation for example code. In simple use, your code looks similar to the A4988 example above.Practical Stepper Motor Projects with Complete Code
Position Control System with Display
Add an LCD to show the motor position. Record steps and use buttons for input. This project helps you learn control and feedback.Speed-Controlled Stepper with Acceleration Profiles
Write a sketch that changes speed with a potentiometer. You can add ramping curves to smooth motion. The AccelStepper example above shows how to get started.Multi-Motor Coordination for CNC Applications
Use an Arduino CNC shield for controlling 2 or 3 motors. Integrate with GRBL code if you want to run a CNC machine. This project is ideal for makers who want to build a simple machine control system.Frequently Asked Questions
What is the best driver for an Arduino stepper project?
A4988 works for simple tasks. For smoother motion and higher precision, try DRV8825 or TMC2208.Can I control more than one motor at a time?
Yes. Use the MultiStepper library or a CNC shield for multi-motor projects.Do I need a library for basic motion control?
You can use direct digital writes for simple tasks. Libraries help when you want acceleration or multiple motors.How do I adjust the motor speed?
Change the delay between pulses. Use a potentiometer to vary the delay dynamically.What is microstepping and why use it?
Microstepping divides a full step into smaller steps. It gives smoother motion and finer adjustment.How can I learn more?
Explore Arduino forums and project pages. There are many examples online that build on these basics.Conclusion
This guide has shown you a full range of Arduino stepper motor code. You got direct control examples and library methods. You also learned wiring tips and driver details. I hope this guide sparks your creativity and gives you the confidence to build your own projects. Have fun experimenting and share your results with the community!I’m excited for you to try these ideas. Get your Arduino set up, try the code, and let your projects come to life. Happy building!