Golf enthusiasts know that practicing consistently is essential to improving performance, but weather, time constraints, and access to golf courses can make it challenging to practice as often as desired. This is where a DIY home golf simulator setup can be a game-changer. With advancements in technology and accessible equipment, you can recreate the golf course experience right in your own home. Setting up a home golf simulator not only offers year-round practice but also allows for customized training tailored to your specific needs.A home golf simulator setup can range from a basic configuration to a sophisticated system, depending on your budget, space, and goals. By building it yourself, you can save money while ensuring that the setup fits your exact requirements. This guide will walk you through the process of setting up your own golf simulator, offering practical advice on the equipment and software needed to achieve a realistic and enjoyable golfing experience at home.
Step 1: Assess Your Space
Before purchasing any equipment or starting the installation process, the first step is to assess the available space in your home. A successful DIY home golf simulator requires adequate room for you to swing comfortably without damaging walls, ceilings, or other household items. Ideally, you should have a room with at least 10 feet of ceiling height, 12 feet of depth, and 10 feet of width. This space will accommodate a full golf swing and give you enough distance between the screen and the hitting area.If you do not have a dedicated room, consider converting a basement, garage, or even a spare bedroom into your golf simulator area. Make sure the space is free of obstacles like furniture, light fixtures, or low-hanging ceilings. If ceiling height is a concern, you may need to adjust your swing style or choose specific clubs that require less overhead space. Assessing your space properly will ensure you select the right components for your simulator and help avoid accidents or damages.Once you have identified a suitable space, it’s also important to consider ventilation and lighting. Good ventilation will keep the room comfortable during extended practice sessions, while proper lighting will help enhance the visuals of the simulator screen and allow you to see ball flight accurately. A well-prepared space sets the foundation for the rest of your setup.
Step 2: Select the Right Simulator Software
After evaluating your space, the next crucial step is choosing the right simulator software. Simulator software is the core of your home setup, providing accurate data analysis and virtual golf courses for you to practice on. There are several options on the market, each with varying features and costs. Popular choices include SkyTrak, TGC 2019 (The Golf Club 2019), OptiShot 2, and TrackMan. Your choice will depend on your budget and the type of experience you want to create.SkyTrak, for instance, is a popular mid-range option that provides accurate shot tracking and a wide selection of courses. It integrates with additional apps for deeper game analysis, making it ideal for players focused on improving their performance. OptiShot 2, on the other hand, is more budget-friendly and suitable for casual players who want a simple setup with basic features. If you’re looking for a high-end solution with real-time shot data and professional-level analysis, TrackMan is one of the top choices but comes at a significantly higher cost.When choosing your software, consider features such as shot accuracy, club and ball tracking, course selection, multiplayer options, and integration with other devices. It’s important to select software that meets your practice goals, whether it’s for serious game improvement or recreational use.
Step 3: Invest in a Launch Monitor
A key component of any home golf simulator setup is the launch monitor. This device tracks your ball’s flight data, including speed, launch angle, spin rate, and distance. The accuracy of this data is essential to providing a realistic golfing experience and improving your game. Launch monitors vary in price and functionality, with options ranging from basic entry-level models to high-end, professional-grade devices.For a DIY home setup, mid-range options like SkyTrak or FlightScope Mevo are ideal for most users. These models offer a balance of affordability and accuracy, providing all the necessary data points for in-depth shot analysis. High-end models such as TrackMan or Foresight GCQuad offer unmatched precision and are commonly used by professional golfers, but they come with a significantly higher price tag.When choosing a launch monitor, consider how much data you need. Some models only track basic parameters like ball speed and distance, while others offer comprehensive metrics, including clubhead data, angle of attack, and spin rate. The more detailed data will allow for better insights into your game, helping you identify specific areas for improvement.
Step 4: Build or Purchase a Hitting Mat and Net
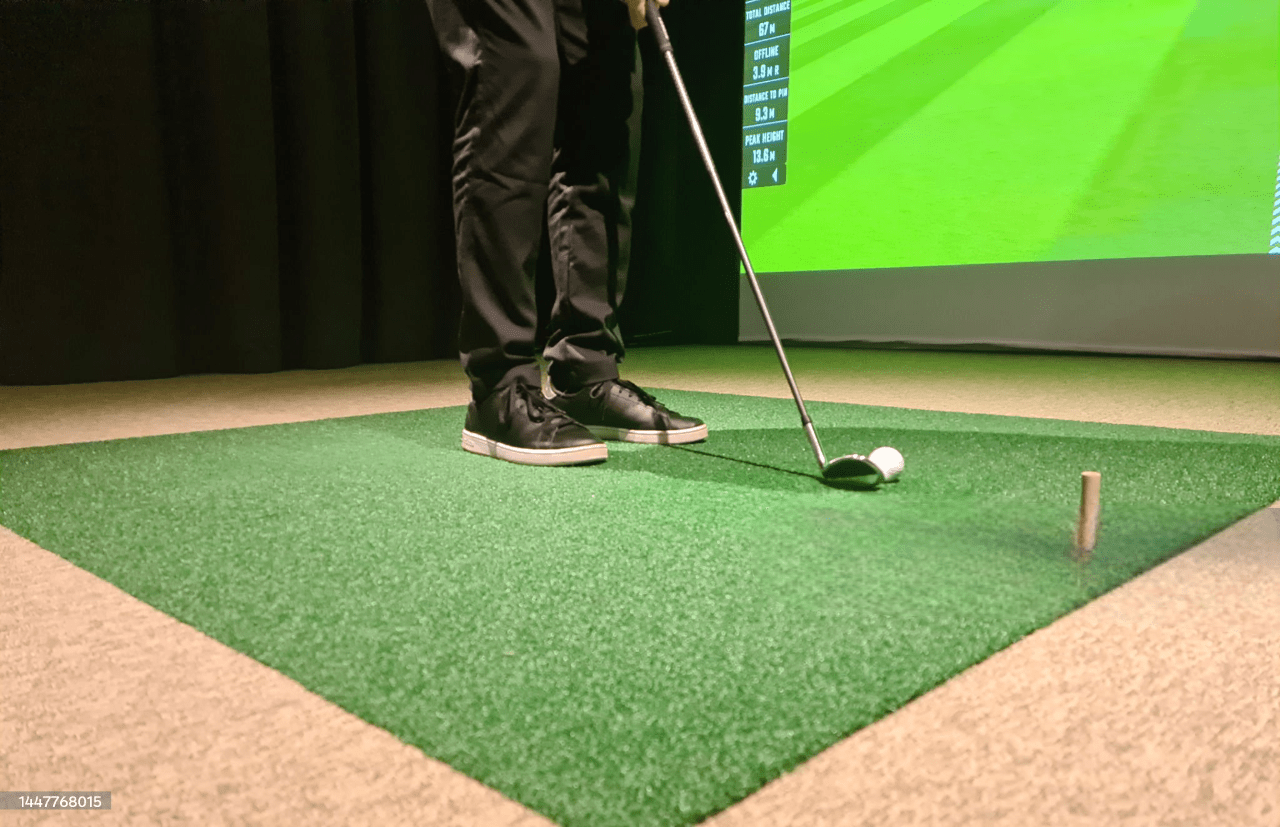
The next step in creating your home golf simulator setup is to install a hitting mat and net. A high-quality hitting mat is essential for simulating the feel of real turf, protecting your clubs, and providing a comfortable surface for swinging. Look for mats that mimic the fairway or rough grass, such as those made by Fiberbuilt or TrueStrike, as these mats are designed to absorb impact and offer a realistic golfing experience.Along with the hitting mat, you will need a durable golf net to catch your shots and prevent damage to walls or furniture. Nets vary in size and strength, so it’s important to choose one that fits your available space and can handle the force of your swing. Some DIY enthusiasts opt to build their own net frames using PVC pipes and a commercial-grade net, while others purchase ready-made nets designed specifically for home golf simulators, such as the Net Return Pro Series.Make sure to position your mat and net at a comfortable distance from the launch monitor to ensure accurate readings. Ideally, your mat should be centered in front of the screen or net, allowing you to hit directly into the impact zone without obstruction. Proper placement of the hitting mat and net will create a safe and enjoyable practice environment.
Step 5: Set Up a Screen and Projector
To complete the immersive golf simulator experience, you will need a screen and projector. The screen displays the virtual golf courses, and when paired with a projector, it creates a life-like visual experience. Many DIY golfers opt for impact screens that are designed to withstand the force of a golf ball. Brands like Carl’s Place offer high-quality impact screens that double as projection screens, allowing you to see your shots in real time.Choosing the right projector is equally important. Look for projectors that offer high resolution and brightness, as this will ensure a clear image even in well-lit rooms. A projector with a short throw distance, like the BenQ TH671ST, is ideal for golf simulators because it can project a large image from a relatively short distance. This feature is especially useful if you are working with limited space.When setting up the projector and screen, align them carefully to avoid image distortion and ensure that the golf ball impacts the screen in the correct location. Proper calibration of the projector will enhance the visual quality and create a more realistic golfing experience.
Step 6: Fine-Tune the Setup and Add Accessories
The final step in building your DIY home golf simulator is fine-tuning the setup and adding any additional accessories to enhance the experience. Ensure that all components are properly connected and aligned. Test the launch monitor, projector, and simulator software to confirm they are functioning correctly and providing accurate data.Consider adding accessories such as golf simulation software extras, a swing analyzer, or a camera system for real-time feedback. These additions can help elevate your practice sessions and give you detailed insights into your swing mechanics. Some golfers also add golf simulator furniture like stools, golf bag holders, and scorecard displays to create a more immersive and comfortable environment.If you plan to use the simulator for long practice sessions, consider adding extra soundproofing to the room, especially if it’s in a shared living space. Acoustic panels can help reduce noise, while LED lighting strips or additional overhead lights can improve visibility. With everything in place, your DIY golf simulator setup will be ready for year-round practice and entertainment.
Conclusion
A DIY home golf simulator setup is a practical and rewarding project for any golf enthusiast. It offers the convenience of practicing in the comfort of your own home while providing the tools necessary for improving your game. By following the steps outlined in this guidefrom assessing your space to fine-tuning the final setupyou can create a high-quality golf simulator that meets your needs and fits within your budget.With the right equipment and careful attention to detail, your DIY golf simulator will become a valuable asset to your home, offering endless opportunities for practice, skill development, and entertainment. Whether you are a seasoned golfer looking to refine your skills or a casual player seeking fun at home, a well-executed simulator setup will provide a personalized and immersive golfing experience year-round.